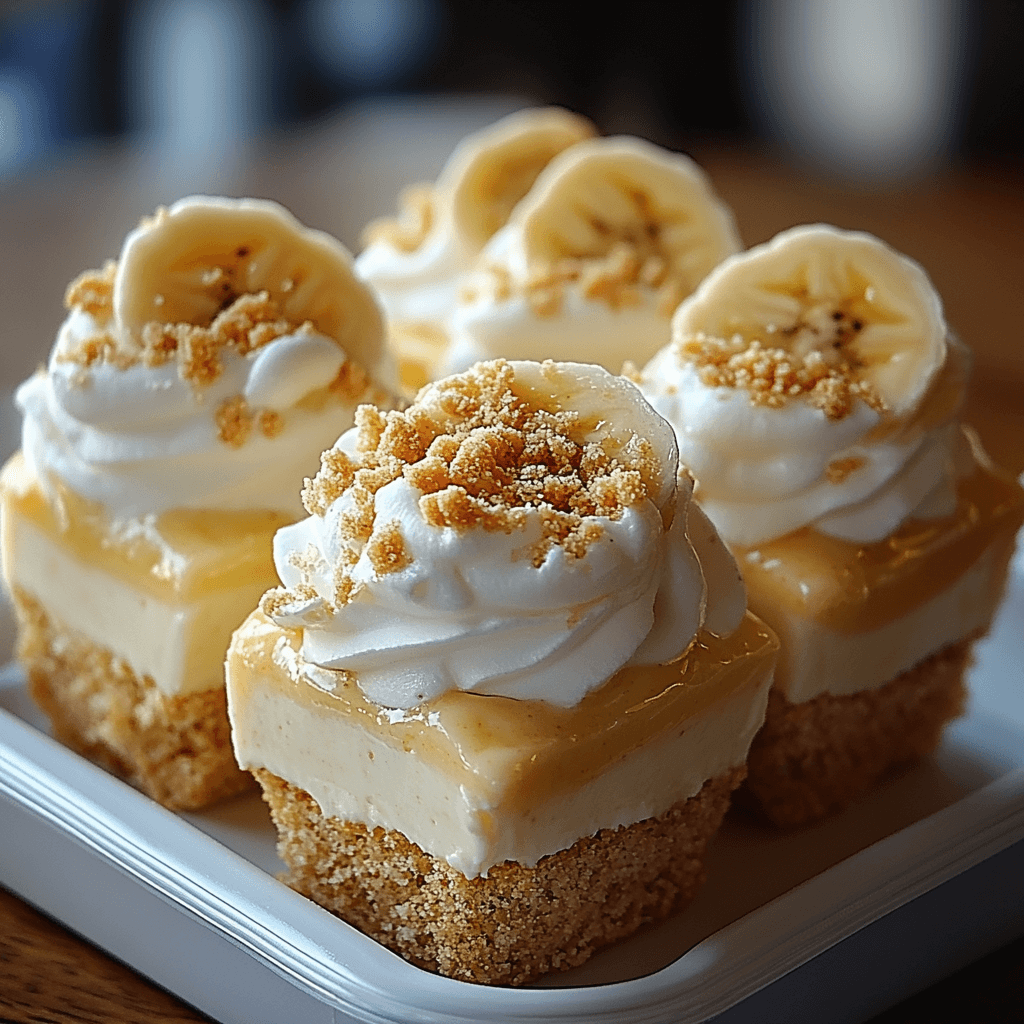
Hey there, dessert lovers! Are you ready for a treat that’s both ridiculously easy and unbelievably delicious? These Creamy Cheesecake Banana Pudding Bites are exactly that – a perfect blend of creamy cheesecake, sweet banana pudding, and crunchy Nilla wafers, all in one bite-sized package! Imagine the textures: that smooth, cool cheesecake, the soft, creamy banana pudding, and the satisfying crunch of the Nilla wafers. It’s a flavor party in your mouth!
What makes these bites so special? It’s the clever combination of classic flavors. We’re taking the beloved banana pudding and elevating it with a touch of cheesecake sophistication. The instant pudding mix makes this recipe incredibly quick and easy – perfect for a weeknight dessert or a last-minute potluck contribution. No complicated techniques, just simple steps to pure deliciousness. It’s the kind of recipe that will leave you feeling happy and satisfied, a perfect mood booster after a long day. Trust me, these little bites are intensely addictive; you’ll be reaching for another one before you know it!
You won’t believe how quick they are to assemble – perfect for those moments when you crave something sweet but don’t have a lot of time. Plus, they’re easily customizable; you can tweak them to suit your preferences. Get ready for a taste sensation that’s both comforting and exciting – these Creamy Cheesecake Banana Pudding Bites are an absolute must-try!

What You’ll Need
Gathering the ingredients for these delightful bites is a breeze! Here’s what you’ll need:
- Cream cheese (2 cups, softened): Make sure your cream cheese is nice and soft for easy mixing. Room temperature is best!
- Heavy cream (1 cup): This adds richness and creaminess to the cheesecake filling.
- Powdered sugar (1/2 cup): Provides the perfect sweetness without being overpowering.
- Vanilla extract (1 tsp): Enhances the overall flavor profile with a touch of warmth.
- Milk (1/4 cup): Helps to create a smooth and creamy consistency.
- Instant banana pudding mix (1 box): The magic ingredient that provides that signature banana pudding flavor.
- Nilla wafers (1 package, crushed): Adds a delightful crunch and classic banana pudding touch.
- Ripe bananas (2, sliced): The star of the show! Choose bananas that are ripe and flavorful for the best results.
- Whipped cream (1/2 cup, for topping): A dollop of whipped cream adds a beautiful finishing touch and extra creaminess.
Step-by-Step Instructions
Let’s get baking (or rather, assembling!) these delicious bites. It’s easier than you think!
- Prepare the cheesecake filling: In a large bowl, beat the softened cream cheese until smooth and creamy. Gradually add the powdered sugar, beating until well combined. Tip: For extra smooth cream cheese, you can use a hand mixer!
- Incorporate the heavy cream and vanilla: Slowly pour in the heavy cream and vanilla extract, beating until the mixture is light and fluffy. Tip: Don’t overbeat; you want the mixture to be fluffy, not separated.
- Add the milk: Gently stir in the milk until everything is well incorporated. The mixture should be smooth and creamy. Tip: If the mixture seems too thick, add a tablespoon more milk at a time until you reach your desired consistency.
- Prepare the banana pudding: In a separate bowl, prepare the instant banana pudding mix according to the package directions. Tip: Use cold milk as directed on the package for the best results.
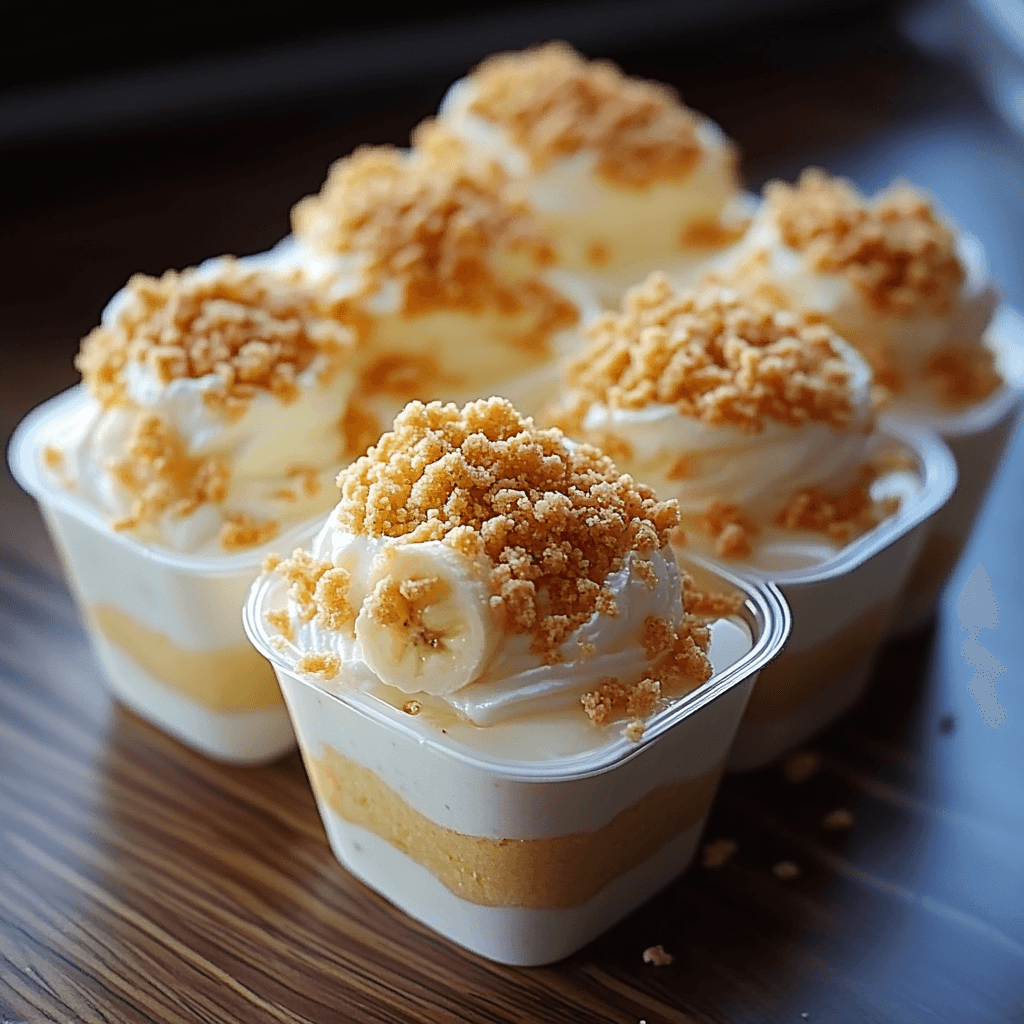
- Assemble the bites: In small serving glasses or dessert cups, layer the ingredients as follows: crushed Nilla wafers, a spoonful of the banana pudding, sliced bananas, and a spoonful of the cheesecake filling. Repeat layers until the cups are almost full. Tip: You can use small clear plastic cups for easy serving.
- Chill and serve: Refrigerate the assembled bites for at least 30 minutes to allow the flavors to meld and the pudding to set. Top with a dollop of whipped cream before serving. Tip: For an extra special touch, garnish with a sprinkle of cinnamon or a few chocolate shavings.
Tips for Success
To ensure your Creamy Cheesecake Banana Pudding Bites are a resounding success, here are a few helpful hints:
Use high-quality ingredients for the best flavor. Soften your cream cheese thoroughly for a smooth and creamy texture. Don’t overmix the cheesecake filling; you want it to be light and airy. If the pudding is too thick, add a little extra milk. Chill the bites for at least 30 minutes to allow the flavors to blend and the pudding to set properly. And most importantly, have fun creating these delightful little treats!
Variations to Try
Feeling adventurous? Here are a few variations to personalize your Creamy Cheesecake Banana Pudding Bites:
Chocolate Swirl: Add melted chocolate chips to the cheesecake filling for a decadent twist. Nutty Delight: Incorporate chopped pecans or walnuts into the Nilla wafer layer for added crunch and flavor. Spice it up: Add a pinch of cinnamon or nutmeg to the banana pudding for a warm, comforting flavor. Gluten-Free Option: Use gluten-free Nilla wafers or substitute with crushed graham crackers. Vegan Adaptation: Substitute the cream cheese with a vegan cream cheese alternative and use coconut whipped cream for the topping. Experiment and discover your favorite combination!
Storing and Reheating
These delightful bites are best served fresh, but leftovers can be stored in an airtight container in the refrigerator for up to 3 days. For longer storage, you can freeze the assembled bites in a freezer-safe container for up to 2 months. To thaw, simply remove them from the freezer and let them sit in the refrigerator overnight. Reheating is not recommended, as it may affect the texture and flavor. Enjoy them cold for the best experience!
Frequently Asked Questions
Q: Can I use a different type of cookie instead of Nilla wafers? A: Absolutely! You can experiment with other crushed cookies like graham crackers or digestive biscuits for a different flavor and texture.
Q: How long do these bites last in the refrigerator? A: These banana pudding bites are best enjoyed within 3 days of making them when stored in an airtight container in the refrigerator.
Q: Can I make these ahead of time? A: Yes! These bites are perfect for making ahead. Assemble them and refrigerate them for at least 30 minutes before serving, or even better, prepare them a day in advance to let the flavors meld.
Q: Are these bites suitable for freezing? A: Yes, you can freeze these bites for up to 2 months. Thaw them overnight in the refrigerator before serving.
Q: Can I use different types of bananas? A: While ripe bananas provide the best flavor and sweetness, you can experiment with slightly less ripe bananas if needed. Just make sure they are not overly green or hard.
The Final Word
These Creamy Cheesecake Banana Pudding Bites are a true testament to the fact that simple recipes can be incredibly rewarding. The combination of textures and flavors is simply irresistible, and the ease of preparation makes them perfect for any occasion. So, gather your ingredients, follow the simple steps, and prepare to be amazed by the deliciousness of these little bites. Don’t forget to share your experience – leave a comment below, rate the recipe, and let us know what you think! Happy baking (or assembling)!
Creamy Cheesecake Banana Pudding Bites

Delicious no-bake bites combining creamy cheesecake filling with banana pudding and Nilla wafers.
- Mixing bowls
- Measuring cups and spoons
Cheesecake Filling
- 2 cups Cream cheese (softened)
- 1 cup Heavy cream
- 0.5 cup Powdered sugar
- 1 tsp Vanilla extract
Banana Pudding Assembly
- 0.25 cup Milk
- 1 box Banana pudding mix (instant)
- 1 package Nilla wafers (crushed)
- 2 Bananas (ripe, sliced)
- 0.5 cup Whipped cream (for topping)
- In a large bowl, beat together the cream cheese, heavy cream, powdered sugar, and vanilla extract until smooth and creamy.
- In a separate bowl, prepare the banana pudding mix according to package directions, using the 1/4 cup of milk.
- Gently fold the banana pudding mix into the cheesecake mixture.
- Crush the Nilla wafers into fine crumbs.
- Layer the crushed Nilla wafers, banana slices, and cheesecake mixture in small serving cups or glasses.
- Repeat layers as desired.
- Refrigerate for at least 2 hours to allow the pudding to set.
- Top with whipped cream before serving.
For easier layering, consider using a piping bag for the cheesecake mixture.