Introduction
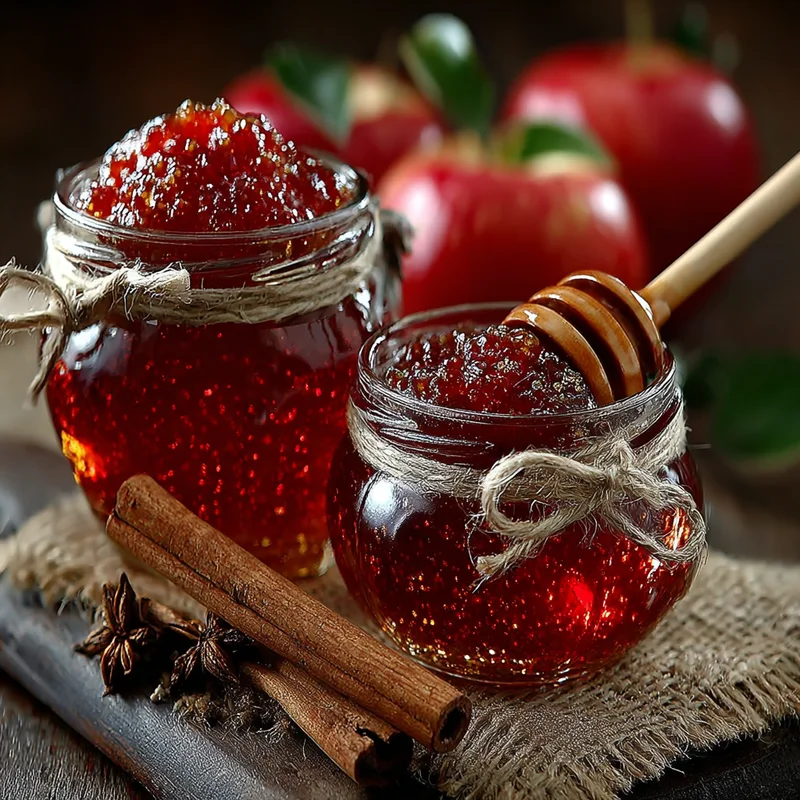
Oh, the smell of apple pie baking! It’s pure autumn magic, isn’t it? That warm, comforting aroma instantly takes me back to cozy days, crisp leaves, and maybe even a bit of apple picking. Today, we’re capturing all that goodness and bottling it up into a delightful spread that’s like a hug in a jar: Easy Apple Pie Jam! Seriously, this jam is so simple to whip up, you’ll be wondering why you haven’t made it sooner. It’s the perfect way to enjoy those classic apple pie flavors anytime, anywhere.
Why You’ll Love This Recipe
- Fast: Ready to enjoy in under an hour!
- Easy: Minimal ingredients and straightforward steps.
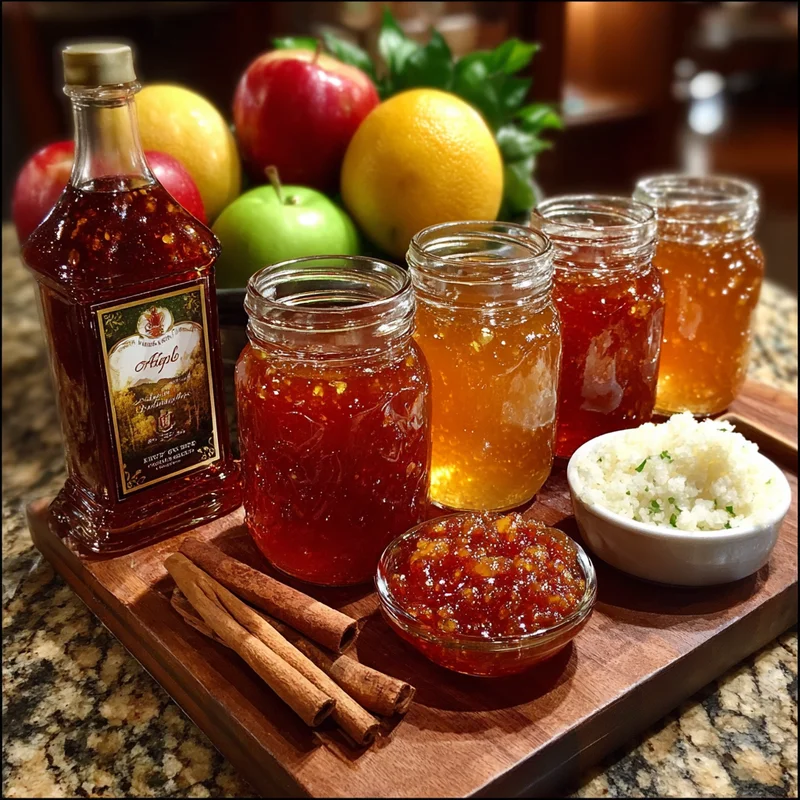
- Giftable: A homemade treasure that’s perfect for sharing.
- Crowd-pleasing: Who doesn’t love the taste of apple pie?
Ingredients
Gathering your ingredients is half the fun! Here’s what you’ll need for this wonderfully simple Apple Pie Jam:
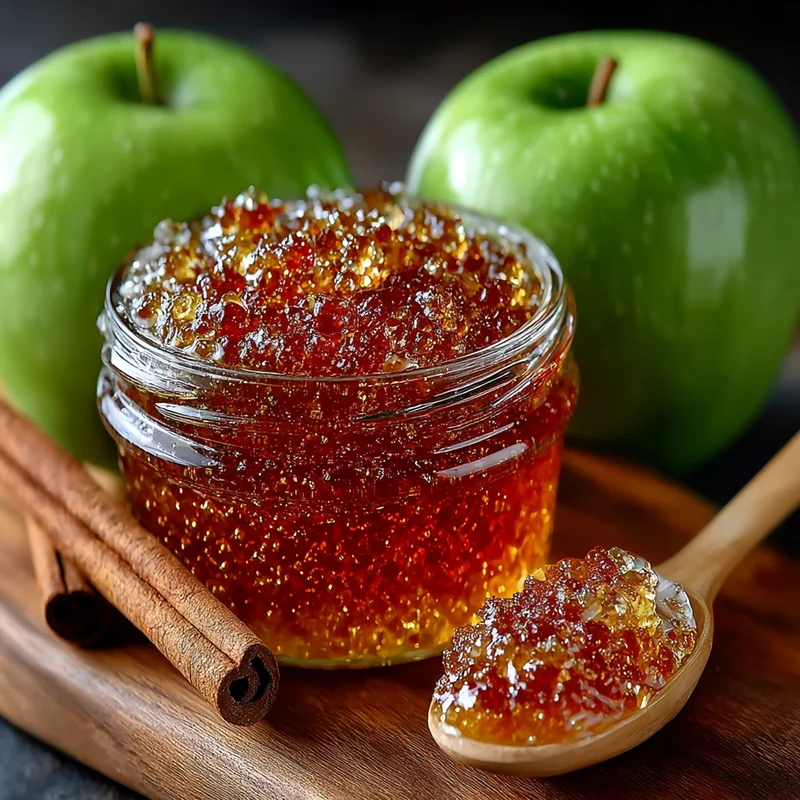
- 4 cups chopped apples: About 3-4 medium apples. I like to use a mix of sweet and tart apples, like Gala and Granny Smith, for the best flavor balance.
- 2 cups sugar: This is the sweetness that helps the jam set and taste just like pie filling!
- 1 teaspoon cinnamon: The star spice that screams “apple pie!”
- ¼ teaspoon nutmeg: Just a pinch to add that warm, nutty depth.
- 2 tablespoons lemon juice: This brightens up the apple flavor and helps the jam set nicely.
- ½ cup water: To get our apple-pie-simmer party started!
How to Make It
Alright, let’s get cooking! It’s really as easy as 1-2-3 (well, 7 steps, but they’re super simple!).
- Combine Everything: Grab your biggest pot – you’ll want room to work! Toss in your chopped apples, sugar, cinnamon, nutmeg, lemon juice, and water. Give it all a good stir to make sure everything is acquainted.
- Bring to a Boil: Place the pot over medium-high heat. Stir occasionally as the mixture heats up. You want to see it gently bubbling and coming to a boil.
- Simmer and Thicken: Once it reaches a boil, reduce the heat to low. This is where the magic happens! Let it simmer, stirring frequently. You’ll see the apples start to break down and the mixture will get thicker, like your favorite jam. This usually takes about 45-60 minutes. Keep an eye on it and stir so it doesn’t stick!
- Mash it Up: Once the apples are super soft and the jam has reached that lovely jammy consistency, it’s time to mash! You can use a potato masher for a chunkier, more rustic jam, or if you prefer it super smooth, an immersion blender works like a charm. Just be careful, it’s hot!
- Jar it Up: Now for the best part! Carefully ladle the hot jam into your sterilized jars. Leave about ½ inch of space at the top, which we call “headspace.”
- Seal the Deal: Wipe the rims of the jars clean with a damp cloth. Place the lids on, twist them down, and then it’s time for a little canning magic. Process the jars in a boiling water bath according to the recommended canning times for your specific altitude.
- Cool and Store: Once processed, carefully remove the jars from the water bath and let them cool completely on the counter. You’ll hear those satisfying little “pops” as the lids seal!
Substitutions & Additions
This recipe is fantastic as is, but feel free to get creative! Here are a few ideas:
- Apples: While I love a mix, feel free to use your favorite single variety. Honeycrisp or Fuji apples also make delicious jam.
- Spices: A tiny pinch of ground cloves or allspice can add another layer of cozy flavor.
- Add-ins: Stir in a handful of chopped pecans or walnuts during the last 10 minutes of simmering for a delightful crunch. A splash of maple syrup along with the sugar can add a lovely richness.
- For a Smoother Jam: If you don’t have an immersion blender, you can carefully transfer the cooked jam (in batches!) to a regular blender. Just be sure to vent the lid and cover it with a kitchen towel to avoid steam burns.
Tips for Success
A few little tips can make your jam-making experience even smoother:
- Apple Prep: Make sure your apples are chopped into fairly uniform pieces so they cook evenly. Peeling is optional – the skins add extra fiber and a lovely color!
- Sterilizing Jars: Properly sterilized jars are key for safe canning. You can wash them in hot, soapy water and then place them in a preheated oven (around 225°F or 107°C) for at least 10 minutes before filling.
- Don’t Rush the Simmer: Patience is a virtue when making jam! Letting it simmer until it’s the right consistency is important for both flavor and texture.
- Prep Ahead: You can chop your apples a day in advance and store them in the refrigerator with the lemon juice to prevent browning.
How to Store It
Once your jars have cooled completely and you’ve checked that the seals are good (the lid should be concave and not flex when pressed), you can store your Apple Pie Jam in a cool, dark pantry. Properly canned jam will last for about a year. Once opened, refrigerate it and enjoy within 2-3 weeks.
FAQs
Got questions? I’ve got answers!
- Q: Do I have to can this jam?
A: If you plan to store it for longer than a few weeks, canning is the safest method. If you want to eat it right away or keep it in the fridge, you can skip the water bath processing. Just make sure to cool it completely and store it in the refrigerator. - Q: My jam seems too thin. What did I do wrong?
A: This can happen if it wasn’t simmered long enough. You can try putting it back in the pot on low heat and simmering a bit longer, stirring often, until it thickens. - Q: Can I use artificial sweetener?
A: While you can experiment with sugar substitutes, they may affect the setting and texture of the jam. For the best results and traditional jam consistency, regular sugar is recommended.
Happy jamming, friends! I hope this Apple Pie Jam brings a little bit of that fall magic into your kitchen. Let me know how it turns out in the comments below!
Easy Apple Pie Jam
Equipment
- Pot A large pot is recommended for simmering the jam.
- Potato Masher Optional, for a chunkier jam.
- Immersion blender Optional, for a smoother jam.
- Jar(s) Sterilized jars are required for canning.
- Water bath canner Required for proper canning.
Ingredients
Main ingredients
- 4 cups chopped apples About 3-4 medium apples, a mix of sweet and tart is recommended (e.g., Gala and Granny Smith).
- 2 cups sugar
- 1 teaspoon cinnamon
- 0.25 teaspoon nutmeg
- 2 tablespoons lemon juice
- 0.5 cup water
Instructions
- Combine all ingredients in a large pot and stir well.
- Place the pot over medium-high heat and bring the mixture to a boil, stirring occasionally.
- Reduce heat to low and simmer, stirring frequently, for 45-60 minutes, or until the apples break down and the jam thickens.
- Mash the apples using a potato masher for a chunkier texture or an immersion blender for a smoother consistency.
- Carefully ladle the hot jam into sterilized jars, leaving about ½ inch of headspace.
- Wipe the jar rims clean, place the lids on, and twist them down.
- Process the jars in a boiling water bath according to recommended canning times. Cool completely on the counter to seal.