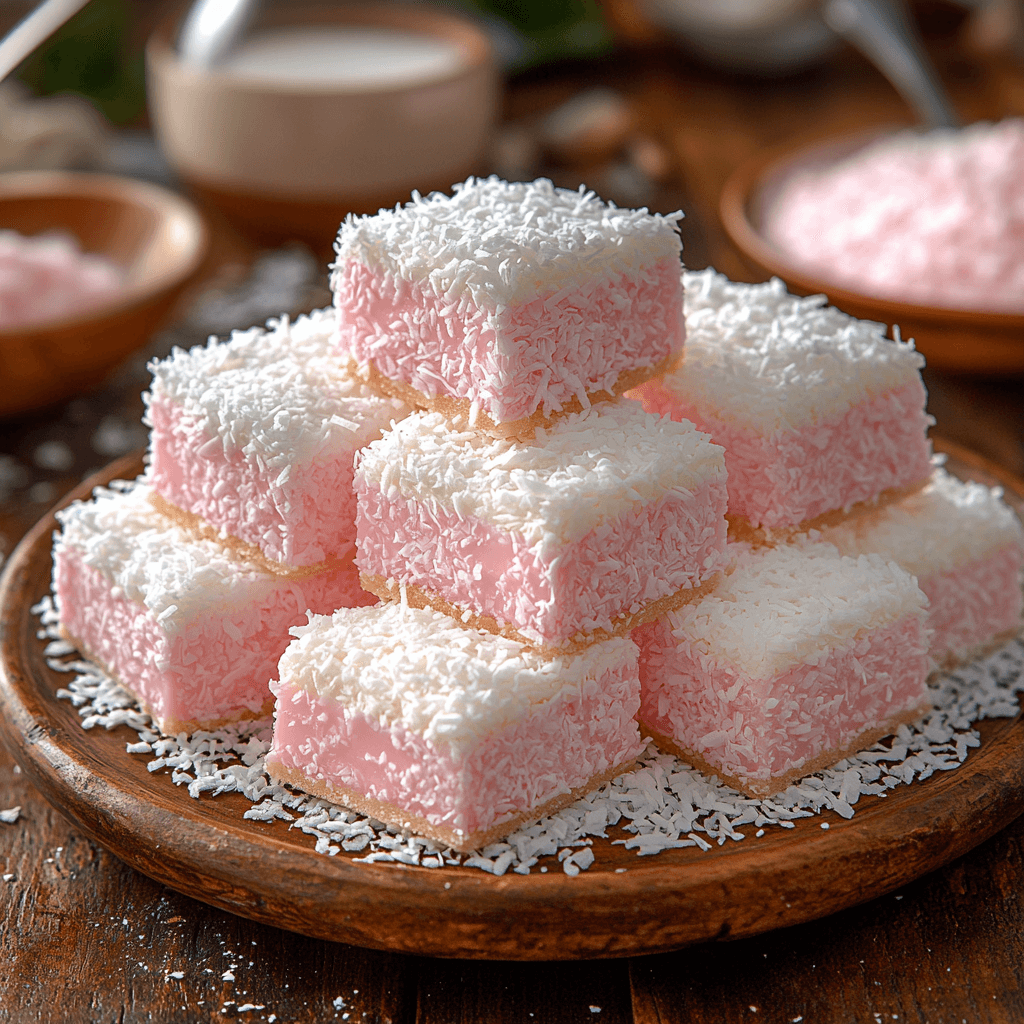
Why You’ll Love This Easy Coconut Ice Slice with Condensed Milk
Hey there, fellow dessert lovers! Are you craving a sweet treat that’s ridiculously easy to make, tastes absolutely divine, and requires minimal effort? Then look no further! This easy coconut ice slice with condensed milk is your new best friend. I’m talking melt-in-your-mouth texture, a perfectly balanced sweetness, and a delightful coconut flavor that will transport you to a tropical paradise. Trust me, the taste alone is worth the ridiculously simple preparation.
What makes this recipe so special? It’s the perfect balance of sweet and subtly nutty. The sweetened condensed milk provides a creamy richness that perfectly complements the delicate flavor of the desiccated coconut. It’s the kind of treat that’s equally satisfying on its own or paired with a cup of tea or coffee. Whether you’re a seasoned baker or a complete beginner, you’ll find this recipe incredibly user-friendly. It’s the ideal dessert for a quick afternoon pick-me-up, a casual get-together, or even a special occasion. Let’s face it, who doesn’t love a little slice of coconutty heaven?
This recipe brings a touch of sunshine to any occasion, instantly elevating your mood with its simple elegance and irresistible taste. Imagine the delightful crunch of the coconut flakes followed by the creamy sweetness of the condensed milk – it’s pure bliss! Get ready to be amazed by how quickly you can whip this up and impress your friends and family with your newfound baking prowess. You’ll be surprised at how easy it is to create something so incredibly delicious. So, are you ready to dive in and experience the coconutty magic? Let’s get baking!
What You’ll Need
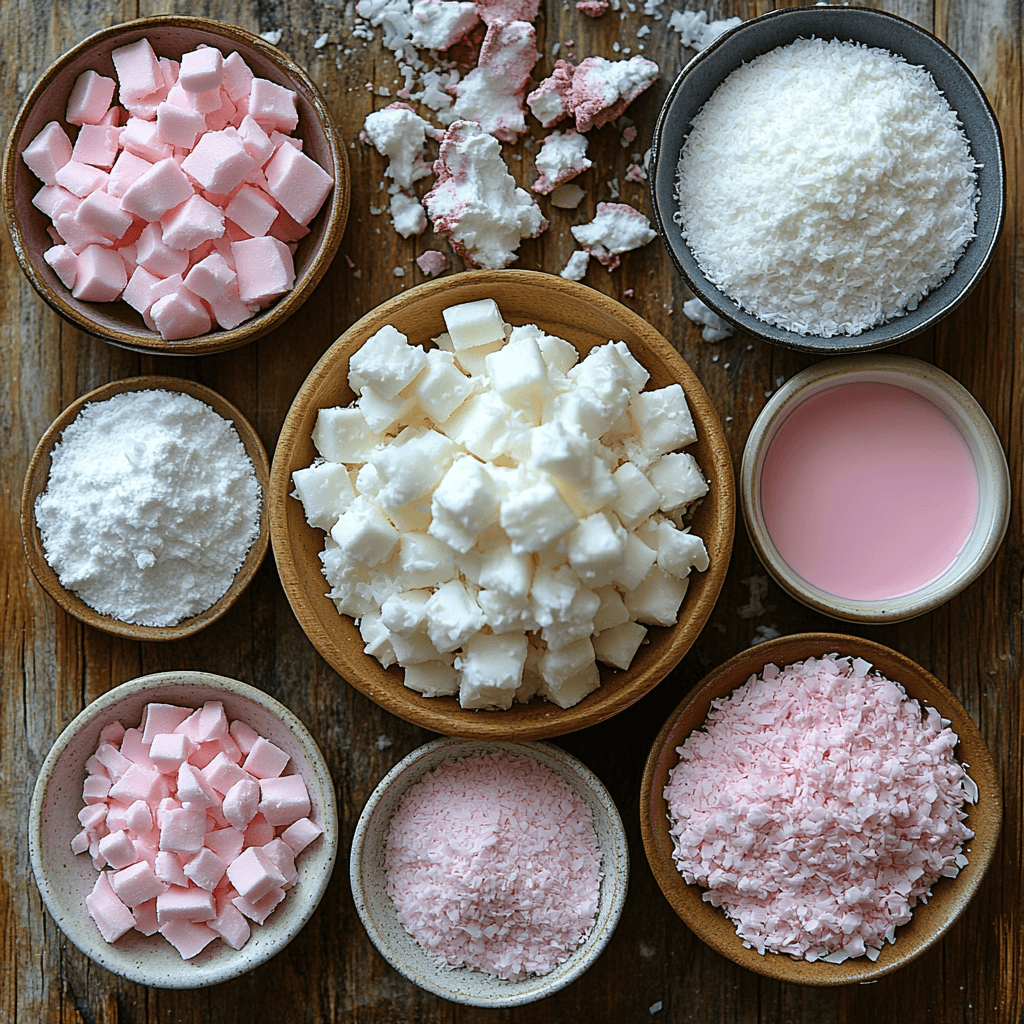
This recipe uses simple, readily available ingredients, making it a breeze to prepare. Let’s take a closer look at what you’ll need:
- Icing Sugar (4 cups): This provides the necessary sweetness and helps create the perfect texture. Make sure it’s finely powdered for a smoother result.
- Sweetened Condensed Milk (1 can, 395g): The star ingredient! It adds that luscious creaminess and rich sweetness that makes this slice so addictive.
- Desiccated Coconut (3½ cups): Provides the signature coconut flavor and texture. Look for finely shredded coconut for optimal results.
- Pink Food Colouring (optional): A fun addition for a vibrant and cheerful slice! A tiny amount goes a long way, so start with a drop and add more as needed.
That’s it! Four simple ingredients that transform into a delicious treat. Let’s get started!
Step-by-Step Instructions
This recipe is incredibly straightforward, perfect even for beginner bakers. Let’s create some magic together!
- Prepare your baking tin: Line an 8×8 inch square baking tin with baking paper, leaving some overhang on the sides to make lifting the slice out easier later. This is a crucial step to avoid sticking and ensures a clean removal of your finished ice slice.
- Combine the ingredients: In a large bowl, combine the icing sugar and desiccated coconut. Give it a good mix to ensure everything is evenly distributed. This initial mix helps incorporate the coconut evenly into the final mixture, avoiding pockets of dry coconut.
- Add the condensed milk: Pour in the can of sweetened condensed milk. If using pink food coloring, add a few drops now and mix thoroughly until the color is evenly distributed. Don’t be afraid to use your hands – it’s the best way to ensure everything is properly combined.
- Mix until a dough forms: Using a clean spoon or your hands (clean hands are essential!), mix everything together until a firm dough forms. The mixture should hold its shape and not be too sticky. If it’s too sticky, add a little extra icing sugar, one tablespoon at a time, until it reaches the desired consistency.
- Press into the tin: Once the dough is ready, firmly press it into the prepared baking tin, ensuring it’s evenly spread and compacted. This step is vital for achieving a uniform slice. Use the back of a spoon or your hands to ensure a level surface.
- Chill and set: Cover the tin and refrigerate for at least 2 hours, or preferably overnight, to allow the slice to firm up completely. This chilling time is essential to help the mixture set properly and develop its signature texture.
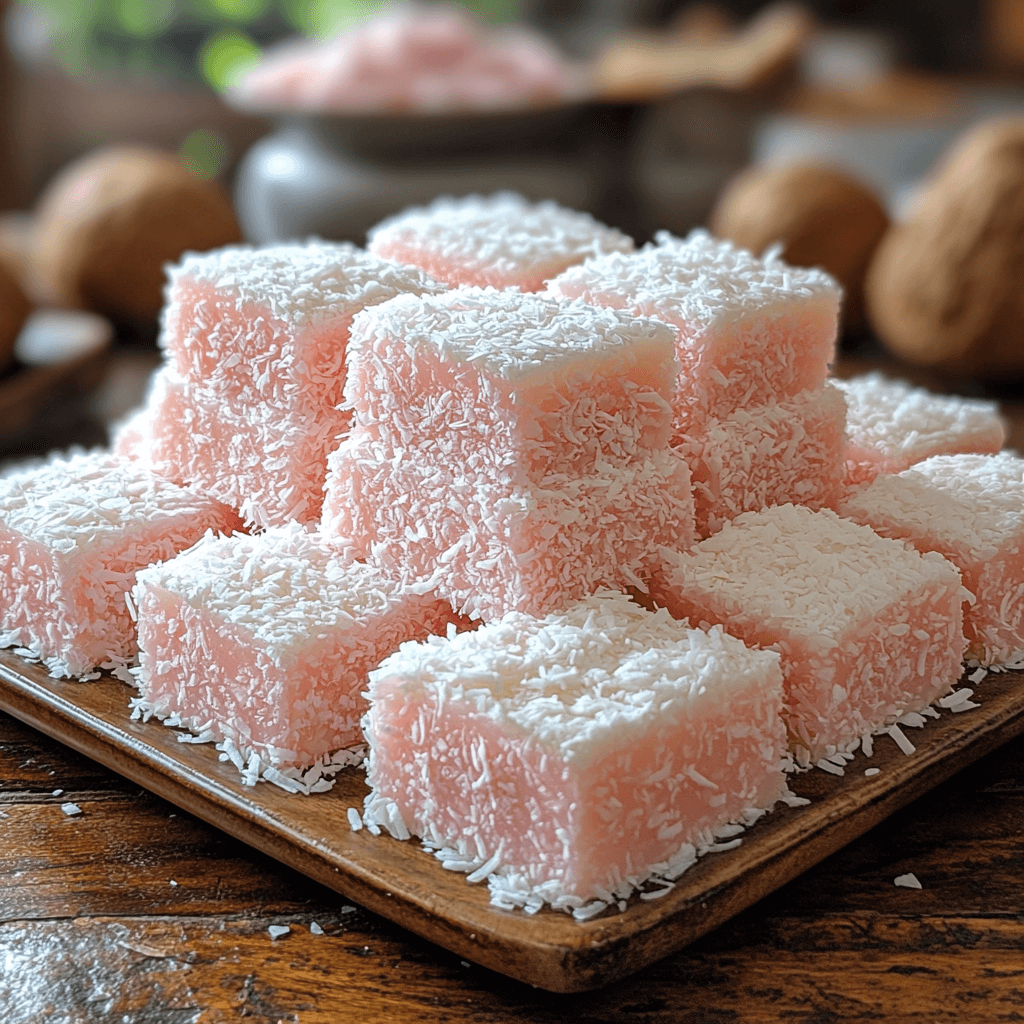
- Cut and serve: Once chilled, lift the slice out of the tin using the baking paper overhang. Cut into squares and serve. You can dust with extra desiccated coconut for an added touch of elegance!
And there you have it! Your delicious coconut ice slice is ready to be devoured. Simple, quick, and incredibly rewarding!
Tips for Success
To ensure your coconut ice slice turns out perfectly every time, here are a few helpful tips:
- Use fine desiccated coconut: This will create a smoother, more even texture in your slice.
- Don’t overmix: Once the dough comes together, avoid overmixing, as this can make the slice tough. Gentle is key here!
- Press firmly: Ensure you press the mixture firmly into the tin for a nice, even slice. A flat surface or the bottom of a glass works well for this.
- Chill thoroughly: Allow the slice to chill completely for at least two hours to ensure it sets properly. Patience is a virtue in baking!
- Use good quality ingredients: The better the quality of your ingredients, the tastier your slice will be. It’s the little things that make all the difference.
Variations to Try
Feel free to experiment with this recipe and make it your own! Here are a few delicious variations to try:
- Add chocolate: Stir in some chopped chocolate into the mixture for a decadent chocolate coconut slice.
- Spice it up: Add a pinch of cinnamon or nutmeg for a warm, spiced flavor.
- Use different food coloring: Get creative with different food colorings – green for a tropical twist or yellow for a sunshine vibe!
- Add nuts: Include chopped pecans or macadamia nuts for added texture and flavor.
- Make it vegan: Substitute the condensed milk with a vegan condensed milk alternative for a delicious vegan version.
The possibilities are endless! Get creative and have fun with it.
Storing and Reheating
Store your coconut ice slice in an airtight container in the refrigerator for up to 5 days. For longer storage, you can freeze it for up to 3 months. To freeze, wrap the entire slice tightly in plastic wrap and then place it in a freezer-safe bag. When ready to enjoy, thaw overnight in the refrigerator. Reheating isn’t necessary as the slice is delicious cold. If you prefer it slightly softer, let it sit at room temperature for a short while before serving.
Frequently Asked Questions
Here are some answers to frequently asked questions about this recipe:
- Q: Can I use full-fat coconut milk instead of condensed milk? A: While you can try, full-fat coconut milk lacks the same sweetness and creamy texture as condensed milk, so the result might be drier and less sweet. Sweetened condensed milk is recommended for the best results.
- Q: How long does the coconut ice slice keep? A: Stored properly in an airtight container in the refrigerator, the coconut ice slice will last for up to 5 days. For longer storage, freeze it for up to 3 months.
- Q: Can I make this recipe ahead of time? A: Absolutely! This recipe is perfect for making ahead of time. In fact, chilling it for at least two hours is crucial for the best texture. Making it the day before is ideal.
- Q: What if my mixture is too sticky? A: Add a tablespoon of icing sugar at a time until you reach a firm dough consistency that holds its shape.
- Q: Can I use a different sized tin? A: Yes, but adjust the baking time accordingly. A larger tin will require a longer chilling time, and a smaller tin will require a shorter chilling time.
The Final Word
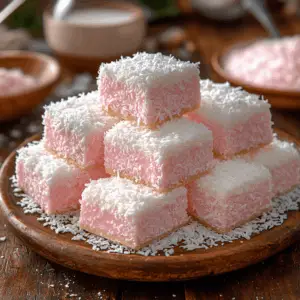
This Easy Coconut Ice Slice with Condensed Milk is a true testament to the fact that simple doesn’t have to mean boring! With just a handful of ingredients and minimal effort, you can create a truly delicious and satisfying dessert that will impress everyone. The creamy texture, the perfect sweetness, and the irresistible coconut flavor combine to create a treat that’s perfect for any occasion. So, what are you waiting for? Give this recipe a try and let me know what you think in the comments below! Don’t forget to rate the recipe and share your pictures – I’d love to see your creations!
Easy Coconut Ice Slice with Condensed Milk
Equipment
- Baking tray Approximately 20x30cm
- Mixing bowl
Ingredients
Dry Ingredients
- 4 cups Icing sugar
- 3.5 cups Desiccated coconut
Wet Ingredients
- 1 can (395g) Sweetened condensed milk
- 1 tsp Pink food colouring Optional
Instructions
- Line a baking tray with baking paper.
- In a large mixing bowl, combine the icing sugar and desiccated coconut.
- Add the sweetened condensed milk and optional pink food colouring.
- Mix well until a dough forms.
- Press the mixture firmly and evenly into the prepared baking tray.
- Refrigerate for at least 2 hours, or until firm.
- Once firm, cut into squares or bars.