Introduction
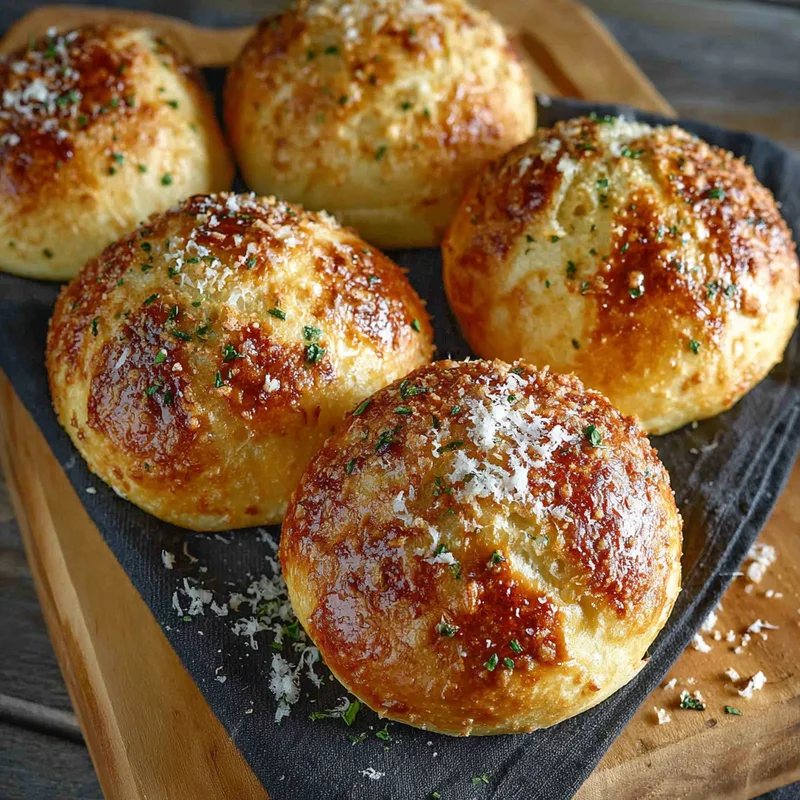
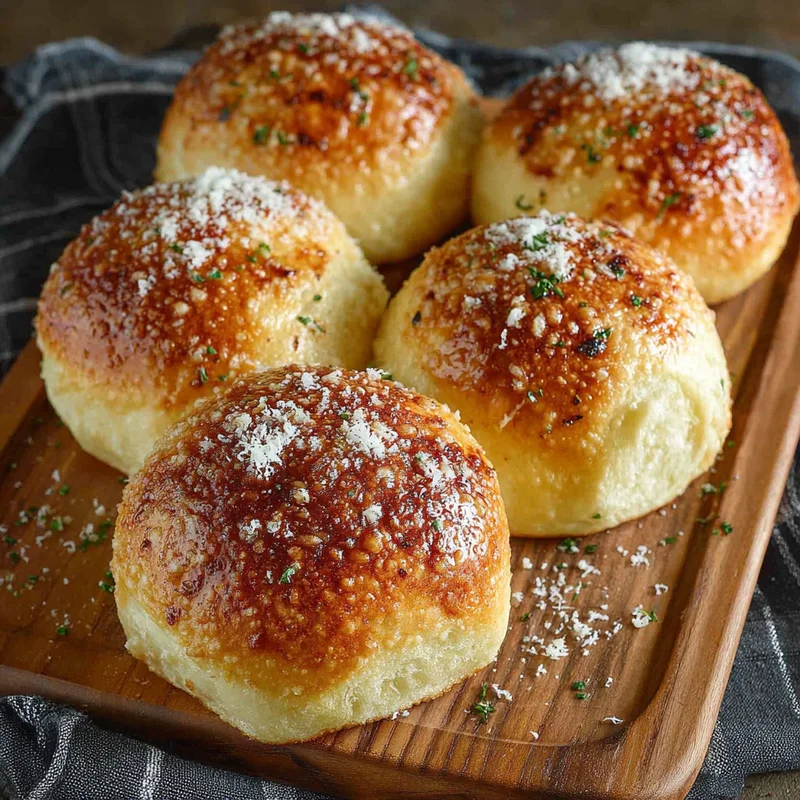
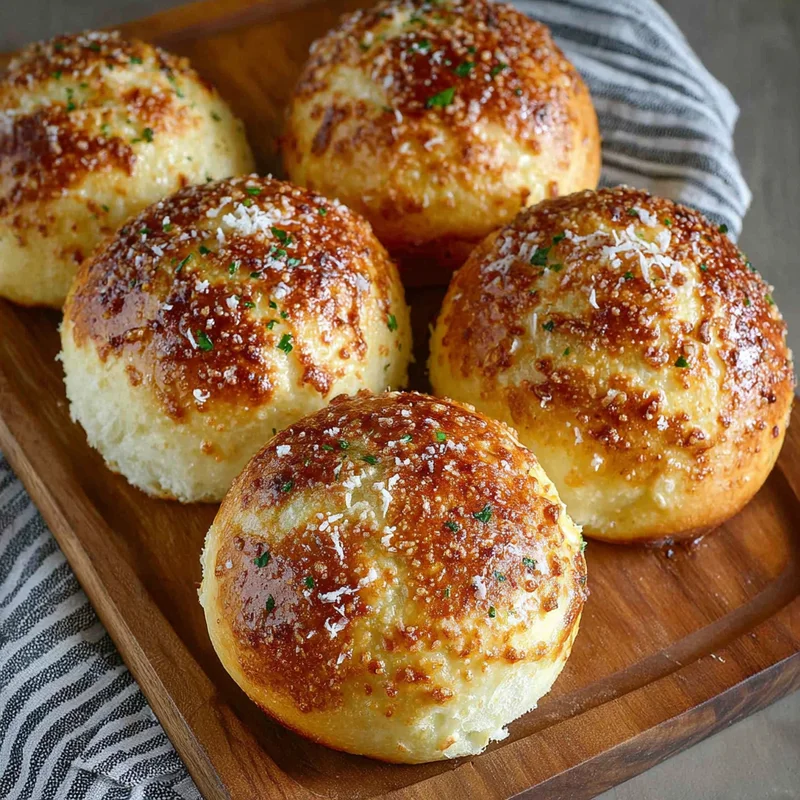
Oh, hello there, baking bestie! Do you ever have those days where you just crave something warm, comforting, and bursting with flavor? I sure do, and when that craving hits, my mind immediately goes to these incredible Garlic Parmesan Brioche Buns. They’re like a hug in bun form, and trust me, they’re so much easier to make than you might think. Imagine pulling these golden beauties out of the oven, the aroma of garlic and Parmesan filling your kitchen… pure bliss!
Why You’ll Love This Recipe
- Fast to Whip Up: While there’s a rise time, the actual hands-on prep is surprisingly quick.
- Incredibly Easy: Seriously, even if you’re a beginner baker, you’ve got this!
- Perfect for Gifting: These make the most thoughtful homemade gifts for friends, family, or neighbors.
- Guaranteed Crowd-Pleaser: Whether it’s a dinner party, a BBQ, or just a Tuesday night, everyone will devour these.

Ingredients
Let’s get our mise en place ready! Having everything measured out beforehand makes the baking process so much smoother. Here’s what you’ll need:
- 4 cups all-purpose flour, divided: This is the backbone of our delicious buns. I like to have a little extra on hand for dusting.
- 1 packet Fleischmann’s® RapidRise™ Yeast: This stuff is a game-changer for quick breads. It makes sure our dough gets nice and fluffy in no time!
- 3/4 cup water: Just a little bit to get that yeast activated.
- 4 large eggs: These add richness and that signature brioche softness.
- 1/2 cup freshly grated Parmesan cheese: Don’t skimp on this! Freshly grated is key for the best flavor.
- 5 cloves garlic, minced: Hello, savory goodness! I love using fresh garlic for that punchy flavor.
- 3 tablespoons sugar: Just enough to feed the yeast and add a hint of sweetness.
- 1 1/4 teaspoons salt: Essential for balancing out all those amazing flavors.
- 1/2 cup cold butter, cut into cubes: Cold butter is important here; it helps create a lovely texture in the dough.
- 1 egg yolk: For that gorgeous, golden egg wash.
- 1 tablespoon water: To thin out the egg yolk for brushing.
- Shaved Parmesan cheese, for topping: Because you can never have too much Parmesan!
How to Make It
Alright, apron on, let’s get baking! Follow these simple steps and you’ll be enjoying these buns in no time.
- Activate the Yeast: Grab a small bowl and combine the Fleischmann’s® RapidRise™ Yeast with the 3/4 cup of water. Give it a gentle stir and let it sit for about 5 minutes. You’ll know it’s ready when it gets all foamy and bubbly – that’s the yeast waking up and getting excited!
- Mix the Wet and Dry: In a large bowl, whisk together 3 cups of the all-purpose flour, those gorgeous eggs, the 1/2 cup of grated Parmesan cheese, the minced garlic, sugar, and salt.
- Combine the Mixtures: Pour that foamy yeast mixture into the flour mixture. Give it a good mix until everything is just starting to come together. Don’t overmix at this stage!
- Add More Flour: Now, gradually add the remaining 1 cup of flour. Mix it in until you get what looks like a shaggy dough. It might seem a little rough, and that’s perfectly okay.
- Knead the Dough: Turn that shaggy dough out onto a lightly floured surface. Now it’s time to get your hands in there! Knead the dough for about 8-10 minutes. You’re looking for a dough that’s smooth, elastic, and feels wonderful to the touch. Think of it like a gentle massage for the dough!
- Incorporate the Butter: This is where the magic happens for that brioche softness! Gradually add the cold butter cubes to the dough. Keep kneading until all the butter is fully incorporated and the dough is smooth and pliable. It might take a few minutes, but the result is so worth it.
- First Rise: Lightly grease a clean bowl. Place your beautiful dough in the bowl, turning it to coat all sides with a little grease. Cover the bowl with a clean kitchen towel or plastic wrap. Find a nice warm spot in your kitchen (near a sunny window or even a slightly warm oven that’s turned off works wonders!) and let it rise for 1 to 1.5 hours, or until it has doubled in size. I love watching it puff up!
- Shape the Buns: Once your dough has doubled, gently punch it down to release the air. Now, divide the dough into your desired portions. You can make small slider buns or larger dinner rolls – whatever you fancy! Shape each portion into a nice, round bun.
- Second Rise: Arrange your shaped buns on a baking sheet that’s lined with parchment paper. Make sure they have a little space between them. Cover them loosely with plastic wrap or a clean towel and let them rise again for another 30-45 minutes. They’ll get nice and puffy for their bake.
- Preheat the Oven: While those buns are having their second rise, preheat your oven to 375°F (190°C).
- Prepare the Egg Wash: In a small bowl, whisk together the egg yolk and the 1 tablespoon of water. This is your golden ticket to a beautifully browned crust.
- Egg Wash and Top: Gently brush the tops of your risen buns with the egg wash. Then, sprinkle generously with that lovely shaved Parmesan cheese.
- Bake to Perfection: Pop those beauties into your preheated oven and bake for 15-20 minutes, or until they’re a gorgeous golden brown and smell absolutely divine.
Substitutions & Additions
Feeling creative? I love how versatile these buns are! Here are a few ideas:
- Herbs: Mix in some fresh chives or parsley with the dough for an extra burst of flavor and color.
- Cheese: While Parmesan is king here, a little shredded cheddar or Gruyere wouldn’t hurt!
- Spicy Kick: Add a pinch of red pepper flakes to the dough or the topping for a little heat.
- Garlic Powder: If you don’t have fresh garlic, 1-2 teaspoons of garlic powder can work in a pinch, though fresh is always best!

Tips for Success
A few little tricks can make these buns even more amazing:
- Don’t Overwork the Dough: While kneading is important, over-kneading can make the buns tough. Stop when the dough is smooth and elastic.
- Check Yeast Expiration: Make sure your yeast is fresh! If it doesn’t foam up, your buns might not rise properly.
- Warm Spot for Rising: A consistently warm spot is crucial for dough to rise well.
- Prep Ahead: You can prepare the dough the day before, let it do its first rise in the refrigerator overnight, then shape and bake it the next day. This develops even more flavor!
How to Store It
These buns are best enjoyed fresh, warm from the oven! However, if you happen to have any leftovers (which is rare in my house!), you can store them:
- At Room Temperature: Store cooled buns in an airtight container or bag for up to 2-3 days.
- Reheating: To refresh them, pop them in a warm oven for a few minutes.
- Freezing: For longer storage, freeze cooled buns in a freezer-safe bag for up to 1-2 months. Thaw at room temperature or gently reheat from frozen.
FAQs
Can I make these without a stand mixer?
Absolutely! While a stand mixer makes kneading easier, you can definitely knead the dough by hand on a floured surface. It’s a great workout for your arms!
How do I know if the dough has risen enough?
You’ll know it’s ready when it has doubled in size and, if you gently poke it with a floured finger, the indentation stays or springs back slowly.
Can I make these ahead of time?
Yes! You can prepare the dough up to the first rise, then refrigerate it overnight. In the morning, let it come to room temperature slightly, shape, let it rise again, and bake. It’s a great way to save time on busy days!
Are these buns spicy?
No, these buns are savory and garlicky with a subtle cheesy flavor. If you’d like to add a touch of heat, you can sprinkle some red pepper flakes on top before baking!

Garlic Parmesan Brioche Buns
Equipment
- Small bowl for activating yeast
- Large bowl for mixing ingredients
- Clean bowl for dough rising
- Baking Sheet lined with parchment paper
- Parchment paper for lining baking sheet
- Small bowl for egg wash
- Kitchen towel for covering dough
- Plastic wrap for covering dough
Ingredients
Dough Ingredients
- 4 cups all-purpose flour divided, plus extra for dusting
- 1 packet Fleischmann’s® RapidRise™ Yeast
- 0.75 cup water for activating yeast
- 4 large eggs for richness and softness
- 0.5 cup freshly grated Parmesan cheese key for best flavor
- 5 cloves garlic minced, for punchy flavor
- 3 tablespoons sugar to feed the yeast and add sweetness
- 1.25 teaspoons salt for balancing flavors
- 0.5 cup cold butter cut into cubes, important for texture
Egg Wash and Topping
- 1 egg yolk for a golden egg wash
- 1 tablespoon water to thin out the egg yolk
- Shaved Parmesan cheese for topping
Instructions
- Activate the Yeast: In a small bowl, combine Fleischmann’s® RapidRise™ Yeast with the 3/4 cup of water. Give it a gentle stir and let it sit for about 5 minutes. You'll know it's ready when it gets all foamy and bubbly.4 cups all-purpose flour
- Mix the Wet and Dry: In a large bowl, whisk together 3 cups of the all-purpose flour, those gorgeous eggs, the 1/2 cup of grated Parmesan cheese, the minced garlic, sugar, and salt.4 cups all-purpose flour
- Combine the Mixtures: Pour that foamy yeast mixture into the flour mixture. Give it a good mix until everything is just starting to come together. Don't overmix at this stage!
- Add More Flour: Now, gradually add the remaining 1 cup of flour. Mix it in until you get what looks like a shaggy dough. It might seem a little rough, and that’s perfectly okay.4 cups all-purpose flour
- Knead the Dough: Turn that shaggy dough out onto a lightly floured surface. Now it's time to get your hands in there! Knead the dough for about 8-10 minutes. You're looking for a dough that's smooth, elastic, and feels wonderful to the touch.
- Incorporate the Butter: This is where the magic happens for that brioche softness! Gradually add the cold butter cubes to the dough. Keep kneading until all the butter is fully incorporated and the dough is smooth and pliable. It might take a few minutes, but the result is so worth it.4 cups all-purpose flour
- First Rise: Lightly grease a clean bowl. Place your beautiful dough in the bowl, turning it to coat all sides with a little grease. Cover the bowl with a clean kitchen towel or plastic wrap. Find a nice warm spot in your kitchen and let it rise for 1 to 1.5 hours, or until it has doubled in size.
- Shape the Buns: Once your dough has doubled, gently punch it down to release the air. Now, divide the dough into your desired portions. Shape each portion into a nice, round bun.
- Second Rise: Arrange your shaped buns on a baking sheet that's lined with parchment paper. Make sure they have a little space between them. Cover them loosely with plastic wrap or a clean towel and let them rise again for another 30-45 minutes.
- Preheat the Oven: While those buns are having their second rise, preheat your oven to 375°F (190°C).
- Prepare the Egg Wash: In a small bowl, whisk together the egg yolk and the 1 tablespoon of water. This is your golden ticket to a beautifully browned crust.4 cups all-purpose flour
- Egg Wash and Top: Gently brush the tops of your risen buns with the egg wash. Then, sprinkle generously with that lovely shaved Parmesan cheese.4 cups all-purpose flour
- Bake to Perfection: Pop those beauties into your preheated oven and bake for 15-20 minutes, or until they're a gorgeous golden brown and smell absolutely divine.

